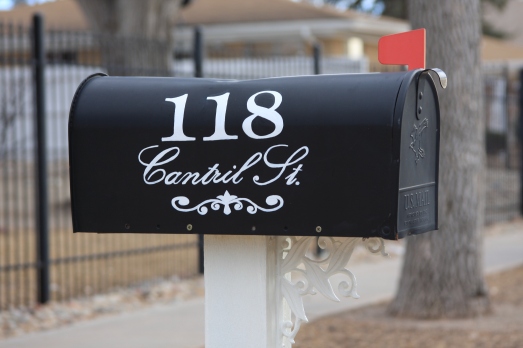
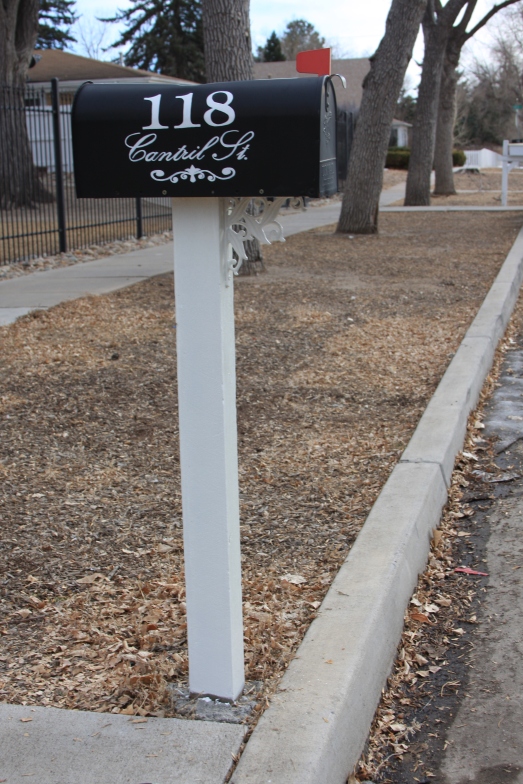
My best friend and I were talking yesterday about all the things we wanted to do to our yards this spring and summer. My list is quite long considering the shape our yard is in! After our conversation, I started pinning ideas left and right when I came across some beautiful mailboxes. The realization that not only was our mailbox boring, but that I could do something about it hit me and I was off planning. Those of you who know me know that I’m impatient and when I get an idea I HAVE to run with it. Sometimes this impatience results in some pretty cool outcomes. I decided last night that I was going to do this project today. I made my plan and I updated our boring, standard mailbox for free. That’s right, I spent no money on this project. Just some leftover paint and supplies we already had and It only took me about 3 hours to complete.
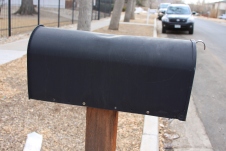
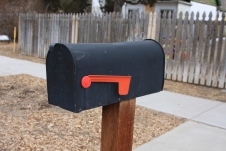
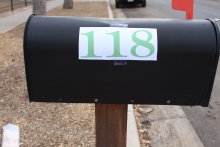
Here is the mailbox before:
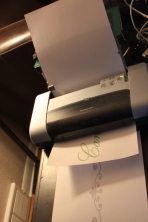
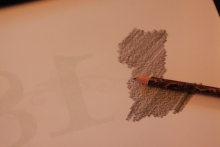
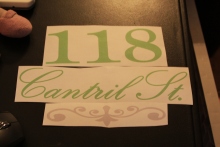
I had to get pretty crafty to get some good results. First, I printed off the address and a pretty little flourish ( I used green ink because I didn’t want to waste my black ink) The I flipped each page over and used a pencil to color over the back of the text.
Next, I cut out each piece, made sure I liked the way it would line up, and then taped each piece to the mailbox.
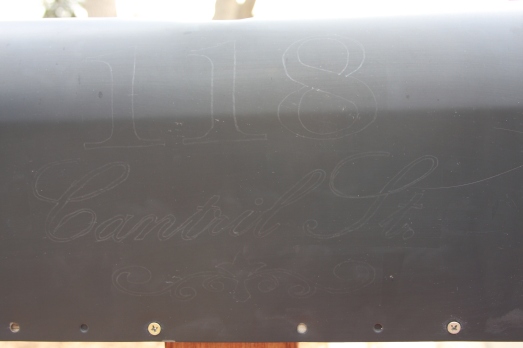
I used the same pencil to trace over each letter, number and flourish. Once I removed the paper, I was left with a transferred pencil image on my mailbox
Can you see it?
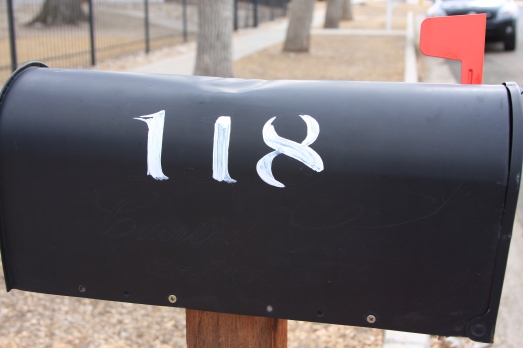
My last step for this part, paint in the lines! Easier said than done, but with a little patience it can be done.
One coat of paint was not enough, but I did kind of like the look. It was almost like chalk…but it didn’t last
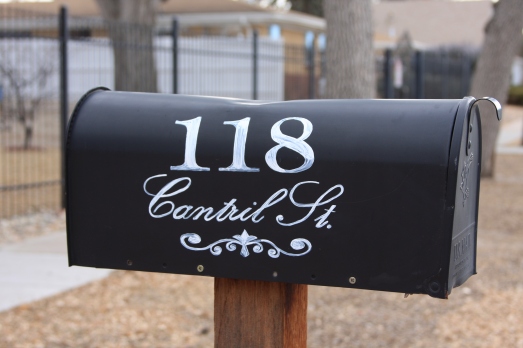
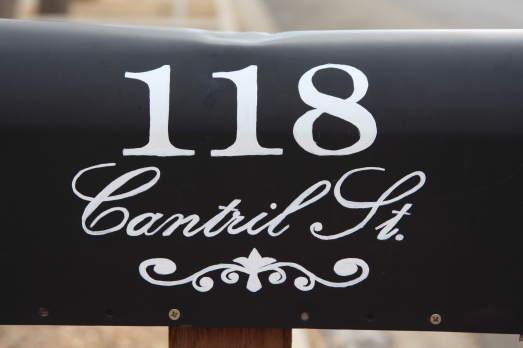
3 coats later and….
Don’t worry about mess ups, smudges, or uneven lines. I just used some flat black paint to touch up the spots I wasn’t happy with. Then I coated the whole thing with clear gloss spray paint to keep it protected.
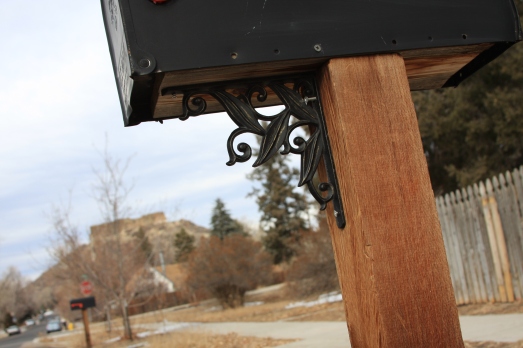
I found these shelf brackets in the basement and screwed one to the post. I’m thinking of adding another to the other side as well, but I’m undecided.
And finally I painted the whole bracket and post with some leftover exterior trim paint.
So much better!!! So what do you think? Should I add another bracket?

